

Top view of binders.
How often do you find awesome projects on Pintrest and think, “who has time for that?” Or, “I would never think of that!” That’s what inspired me to create these super simple busy binders! I used items I found at dollar stores. No need to use up my ink to print off a ton of pages. No need to laminate. These are re-usable, inexpensive and require very little time to make.
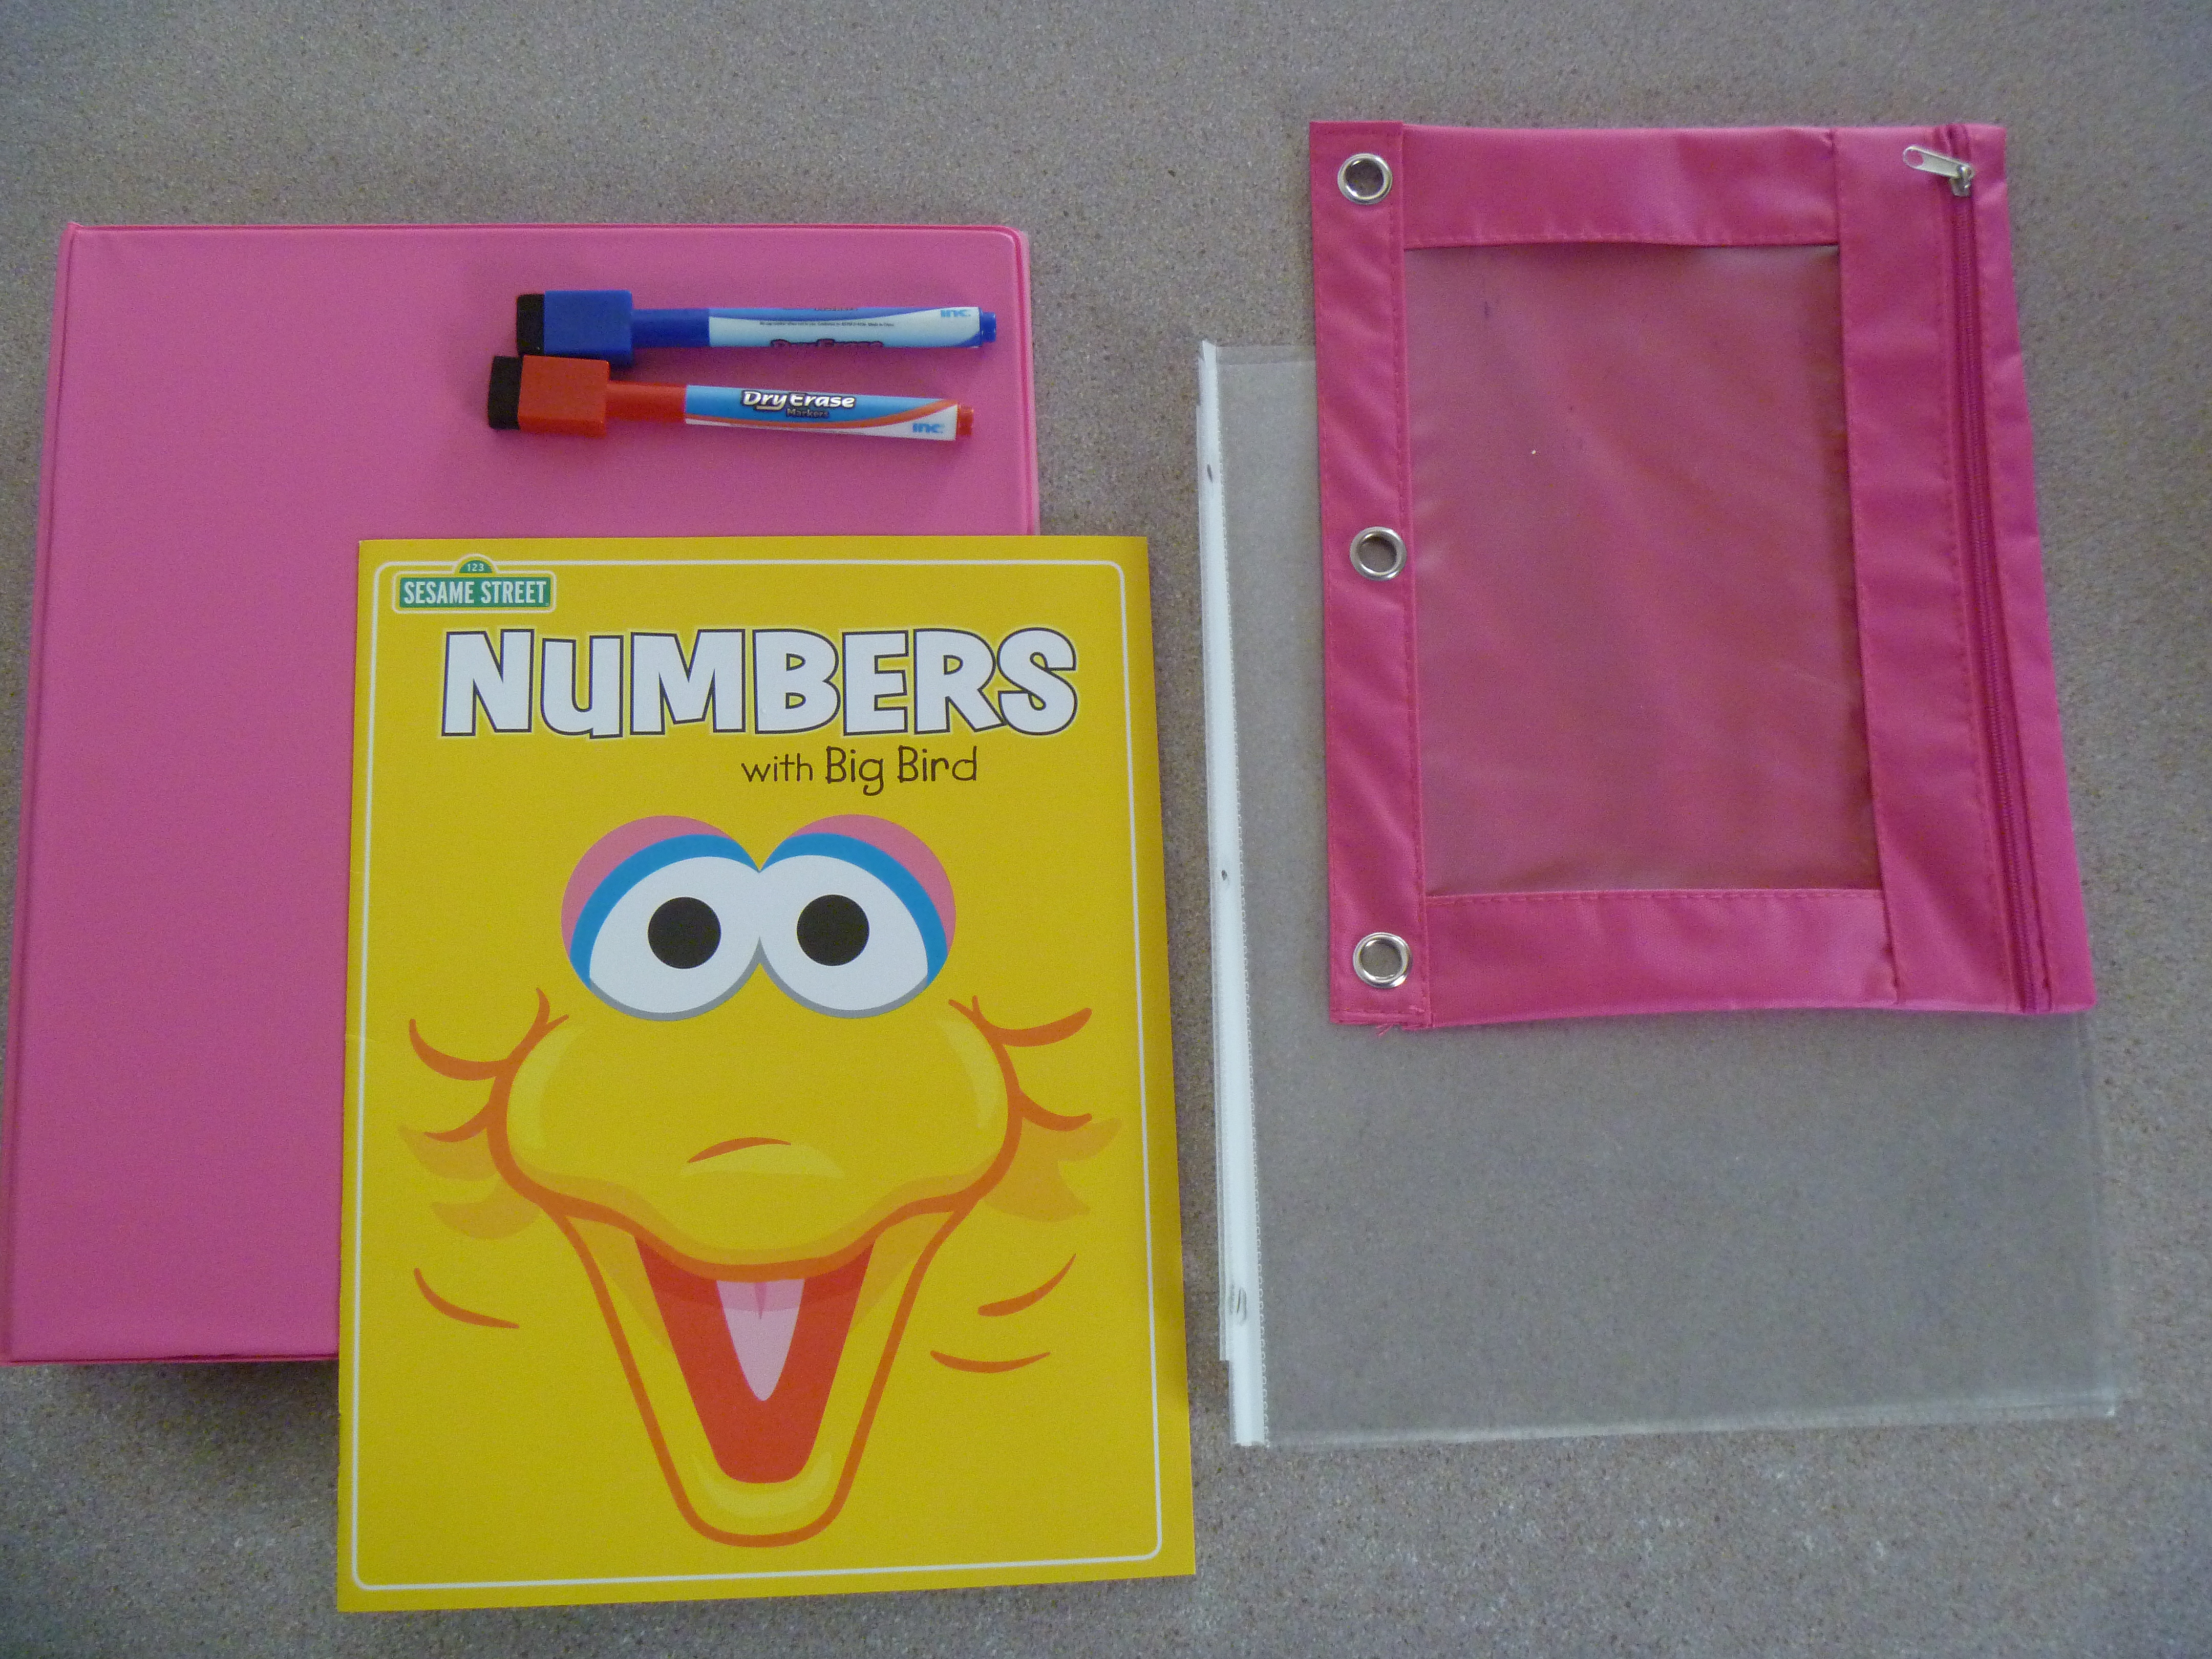
Materials for busy binder
I found activity books at the Dollar Tree. (Target has similar books in their dollar section). I picked up some colorful 3 ring binders at Big Lots for .90 cents each along with matching zipper pouches for $1.00 each. I reused some plastic page protectors and dry erase markers I found at home. So, each binder cost around $2.90. (I made 4).

Zipper pouch to always have pens on hand.
The zipper pouch in the front of each binder holds dry erase markers for easy storage. I especially like the dry erase markers with the felt tipped eraser caps. This way the girls can erase their marks on their own if necessary.

Be sure to use dry erase markers.

Use book cover as first page in binder.
The first page of the binder holds the cover of the activity book. If you want to get fancy, buy a binder that includes a front and back clear view pocket. Place the front cover of the activity book in the front clear view pocket and the back cover of the activity book in the back clear view pocket. The clear view binders run about $3-$4 each. The plastic page protector is my cheater version.

- Insert individual pages in pockets.
The following pages include activity sheets I detached from the book. I inserted one page per plastic sleeve.

Pocket protectors make it easy to erase and use again.
Now the girls can re-use the pages as many times as they’d like. I simply erase when they are finished, or encourage them to clean with a paper towel before putting the binder away.

Inside binder
I keep the binders on a shelf for easy toddler access.

Binders on shelf.
I have an open shelf area at the end of our counter that I keep busy activities for the girls to grab and play with any time they like. This has saved me during phone calls, while chatting with other adults and that rat race called dinner hour.

Open access to activity shelf.
I assembled all 4 binders in less than 20 minutes! The materials are easy to find, inexpensive and assemble quickly. No printing! No coloring! No laminating!
What are some busy projects you have to occupy little ones?


I love the color coordination!!!!
Wish I could post pictures for ya. I made a busy book that had a story with interactive felt apples that Velcro onto a tree drawing on cardboard. The apples are taken from the tree and placed in the duct tape basket as each character in the story eats an apple.
I also used a Ziploc bag, small miscellaneous objects, rice and duct tape to make a seek bag. Before placing small objects in the bag I took a picture of them and made a pictorial list of things to find. I even used letter beads to spell out monkeys name. Then around the edges I reinforced the seals of the bag. I added an extra strip of duct tape to put holes in and added to his busy book.
Bead Counter made from left over ribbon, beads and cardboard (cereal box). 10 pieces of ribbon are attached to the cardboard and then on each strand there is the ascending amount up to 10. So the first ribbon has 1 bead, Second ribbon has 2 beads and so forth to the tenth ribbon having 10 beads.
shape matching made with cardboard (cereal box), felt shapes, Velcro, and perm marker. I cut out the shapes in felt, traced them on the cardboard and colored the shapes in, attached the Velcro to the cardboard. I hole punched a Ziploc bag to put the shapes in so they don’t get lost when not being used.
Sticker page was made form left over stickers, and a page protector. I just placed extra stickers in the sleeve and the sticker can be re-stuck to it over and over again.
Do you want some more ideas…lol
LikeLike
Thanks Deb! Great ideas!
LikeLike
Pingback: Back to School Giveaway! | Creating Barefoot with Pamela
Pingback: 5 Simple Ways to Bring Spring Into Your Home! |
Pingback: Dinosaur File Folder Game – Count On Fun! | the whatever mom
Pingback: My One Year “Easterversary” Round Up! |
Pingback: 6 Tips For Keeping Your Car Road Ready For Summer |
Pingback: Adventures Of Working From Home . . . With My Kids. |